Introduction
Here we will go through the process of creating a new skin with our themes. We will utilize the skin generator so you do not need to mess with CSS or FTP but we will also touch up on how to edit the stylesheets for more advanced customization.
The skin we are creating in this tutorial is for the Elegance theme but the steps taken apply to all of our themes.
Preparing the skin
You will most likely want to preview your changes as you are customizing your skin. For this it is best to go ahead and create a blank skin and then activate it so you can see your changes as you go.
Navigate to Dashboard -> [your_theme] -> Skins and select the “Create a new Skin” option as seen below.

After selecting the theme sections will popup (header, main content, footer, etc etc) and at the very bottom you will see a prompt for you to save your skin.

Go ahead and type out your skin name and save. Congrats! You’ve just created your first skin. Go ahead and select the “Choose a skin” option and then activate your new skin.

After activating go ahead and view your site and you will notice that it is a blank slate, no formatting at all. This is how we will build our skin but keep in mind that you can also edit existing skins also.
Now we can start customizing so click on the “Manage Skins” option again and click on the “Edit” button to your new skin.

Customizing the skin
After clicking the “Edit” button you will now see the various theme sections that you can customize. The first area you will see is the “Color Scheme”.
Color Scheme

The Color Scheme is kind of like the main color for your site. It is used for various elements such as list icons, twitter icons, link colors, etc etc. It will depend on your theme but you will want to pick the main color to use here.
We have integrated a jQuery color picker so you can click on the box and select your color or you can manually type out the color code if you already have one in mind.
General Typography

In this section you can customize everything about your fonts. The most important one is the body font which acts as a default for everything else.
You can change the color and size at the front and as you move along you can set bold, italics, and even change the font at the very end. When selecting a font you will notice a (Websafe) and (Cufon) at the end of your fonts. This lets you know whether the font will be converted with cufon or embedded like normal.
Cufon fonts are sometimes hard to select with your cursor so they are usually only used for headings. It would be best to use the websafe fonts for your body and link text but feel free to play around with what works best for you.
Below your body font you will see h1, h2, h3, h4, h5, h6.. these are your headings and are usually a bit larger than your body text.
At the very bottom you will find your links. Here you can change the link colors and decoration such as underline, overline, strike through, etc etc. You can also change the link hovers here also.
Body

The first option is the body background. You will probably be using this one the most. It is the main background used throughout your site. You can upload your own background by clicking on the “Upload” button. This is just like using the WordPress media library and you can find all of your images that you upload there.
You can also use one of the image presets by clicking on the “Select Preset” button. We have a bunch of designs and textures available on our main site so be sure to check back often for updates.
After uploading a background image you can select some options,
Color: In case your background is transparent you can select a color to be used as the see through.
Repeat: If your background is tileable then you can select to repeat along the x axis, y axis, both, or none.
Scroll / Fixed: If you want your background to stay in the same place as you scroll down the page then set this to scroll. If you want your background to follow you down the page then set it to fixed.
Position: You would use this to select the alignment for your background, we’ll see an example of this in the intro section.
In the image below we have uploaded a small image to use along the top of the page. This is the image inside the “Body Background” option. In our example it is pretty small but a lot of the time you will see a huge background that takes up the whole page.

By default elegance has a small border at the very top. We have gotten rid of this in the image by setting the “Body Top Border” to none.
Header
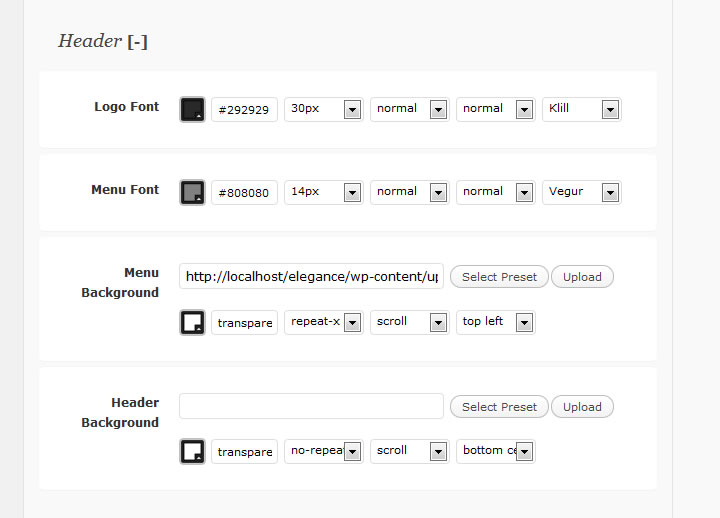
In case you are using your site title as your logo and not an image you can change the font style here as well as the menu font.
You can also set a background for your menus. As you saw in our previous image we set a different menu image that has a jagged edge.
You can also set a background image for your header. For a theme like Elegance which does not use the full width of the screen a header background may not be as important. But for a theme such as inFocus or Persuasion then a background image will be more important since it will carry on for the whole screen.
You will usually create a tiled image for your header background and set it to tile along the x axis (horizontally) but this is not always the case.
Intro
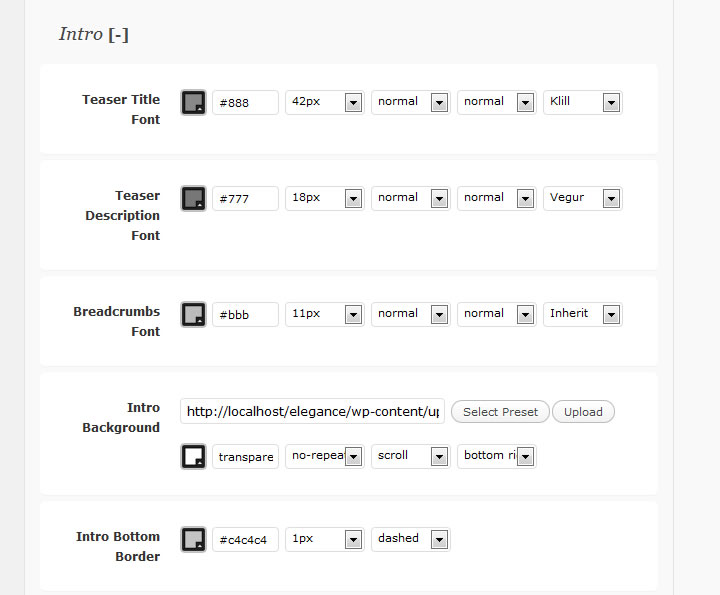
The intro is the section that comes before your main content. It usually holds information such as the page title and the teaser text which appears below the title.
You can change the font style for the title, teaser, and breadcrumbs here. You can also change the bottom border and set a background image for your intro.
As seen in the following image we have set a background image with a no-repeat and a position of bottom right.
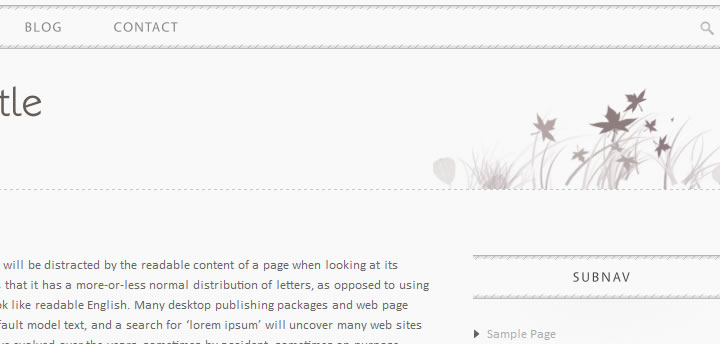
This will make it so our image displays on the right hand side of the intro to accompany the title and teaser text. You’ll find plenty of ways to use background images as you customize your skin.
Main Content

Here you can customize everything about your sections. These are the widget areas in your sidebar. As seen in the image we took off the borders and changed the background image for the section title to match our menus.
Outro

The outro is very similar to the intro. It just comes below your content and above the footer.
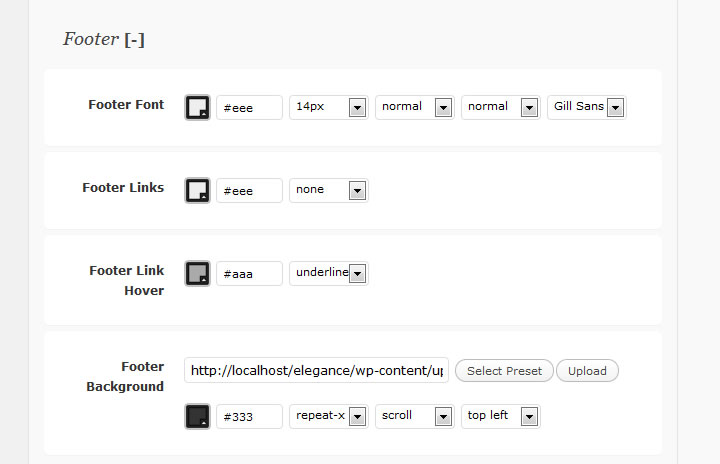
The footer comes below everything else. We set the font style and our own background. As seen in the following image we copied the default background and added design to the top left corner.

Misc
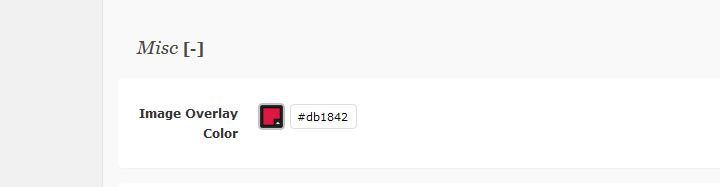
Under the Misc tab you will find the image overlay color. When using features such as the blog lists or portfolio you will notice that the images kind of fade out when you hover over them. You can change the color of this fade here to create a nice effect.
Advanced Customization

In case you need to do some advanced customization then click on the link as seen in the above image. This will open up an editor to your skin stylesheet. Any change you make here will be saved inside the skin so if you plan on exporting your skin then make sure to do advanced edits here.
Saving and Exporting

Click on the link in the above image to export your skin. A download prompt will appear asking where you would like to save your skin’s zip file. In case you want to share your skin with others then this is the zip file that you would give them.
